
From Idea to Reality: Building and Baking with a Wooden Oven
If you’ve ever baked in a wooden oven, you’ll know it’s a completely different experience! It’s not just the smokier, more rustic flavor of the oven bake; it’s also the entire process – from lighting the fire to taking out freshly baked goods. That’s so much more exciting than baking in a conventional kitchen! When the communal oven in my neighborhood became unavailable, I couldn’t stop thinking about where and how I could bake in such an oven again.
Last Christmas, while visiting my family in Romania, we reminisced about how my grandparents and many others in the village had ovens in their gardens for baking their weekly bread. Inspired by these memories, I asked my father—a man who can fix or build just about anything—if he could imagine constructing a wooden oven in our garden. Since I’ve been combining remote work with holidays post-pandemic and spending longer periods at home, I’d have ample opportunities to use it. My father enthusiastically embraced the challenge!
Research and Planning: Dreaming of Summer
We dove into the research, looking up plans online, watching YouTube tutorials, and chatting with villagers who had recently built ovens. It was an enjoyable way to spend cozy winter evenings while dreaming of summer and the oven-building project.
Spring and summer came, and with them, the busyness of rural life. Between planting, harvesting, and extreme weather, the oven plans were put on hold. It wasn’t until September that my father could focus on the project. His goal? To finish the oven while I worked remotely from Romania that month.
Building the Oven: From Skepticism to Progress
When I arrived in early September and saw only the foundation, I was skeptical we’d finish in time for a test bake. My work commitments also limited how much help I could offer during the day. But my father’s dedication and craftsmanship were remarkable. In just two weeks, the oven came together.
Here’s a look at the construction process, step by step:


Preparing for the First Bake
We relied on recycled materials to keep costs low: building bricks, wood for the interior template, and insulation materials. We only purchased the arched and fire bricks for the baking surface. Customizing the bricks for the arches, designing the furnace, and eventually building the roof (completed after I left) were some of the main challenges. Extreme weather—both heatwaves and heavy rains—also delayed progress.
Despite this, the oven was ready for its first test bake on my last day in Romania. I was thrilled—and nervous. Would the oven reach and maintain the right temperatures? Would the baked goods turn out well?
Lighting the Fire: Heating the Oven
We started the baking in the afternoon by heating the oven with wood from our small forest. Dry wood and sticks, often too small to bother collecting, were perfect for starting the fire—they burned quickly and heated the interior efficiently. Gradually, we added thicker pieces to sustain the fire and allow the fire bricks to absorb the heat. The entire process took about 1.5 to 2 hours.


Pizza and Bread: The Test Bakes
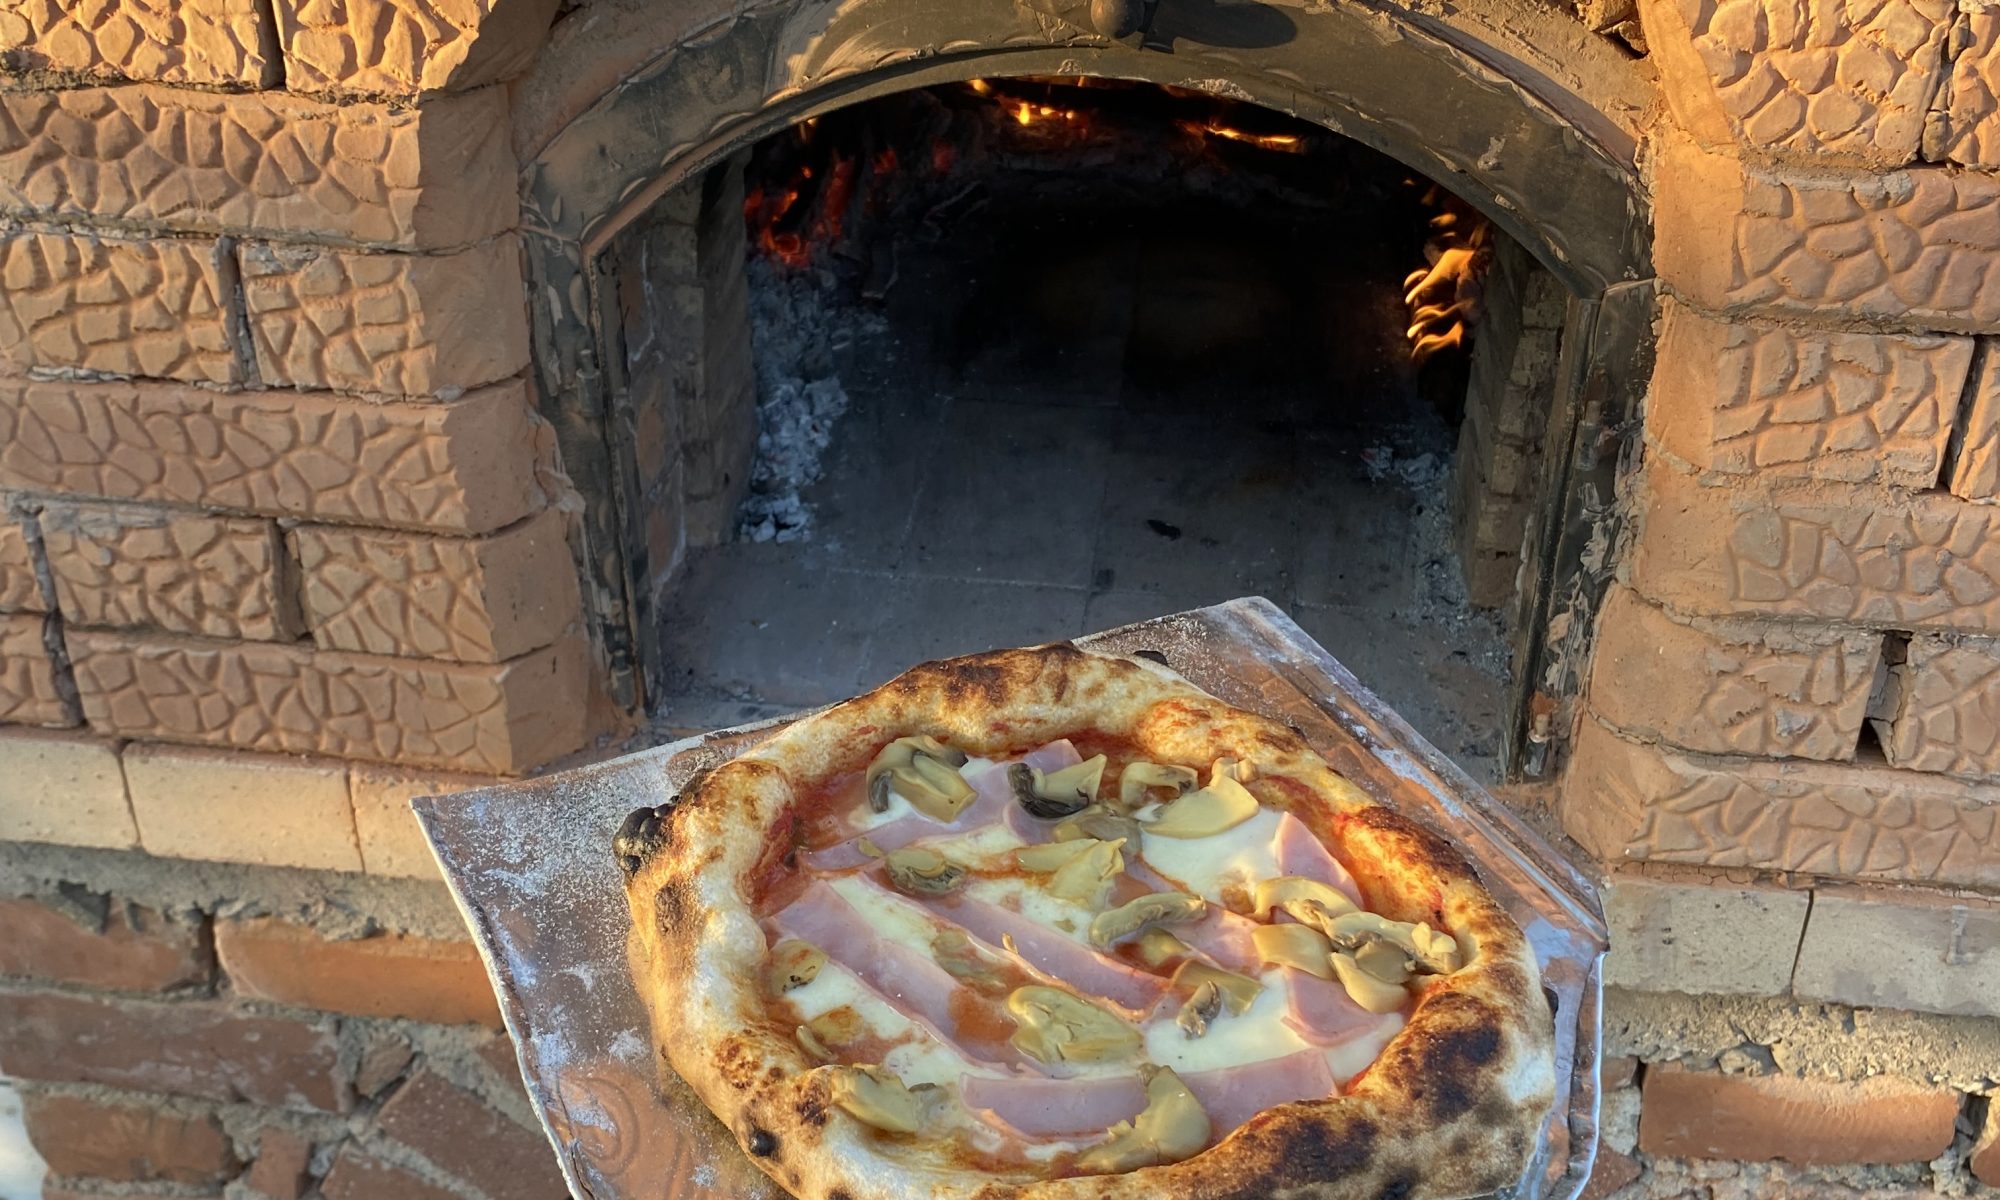
To use the oven’s heat efficiently, I planned a two-stage bake, similar to my experience at the Himmelbeet garden (insert link). First, we made Neapolitan pizza at around 400°C, followed by bread when the temperature dropped to 250–230°C.
For the sourdough Neapolitan pizza, I used a recipe from Vindi from her blog “My Love of Baking”. After two days of cold fermentation, the dough was soft yet strong and had a wonderfully aromatic fragrance. The results? Some of the best pizza I’ve ever tasted, confirmed by my hungry family!


Next came the bread: whole-grain rye and a French-style Tourte de Meule, two loaves of each. After baking the pizza, we removed the coals and cleaned the baking surface with water. When the oven cooled to the right temperature, we placed the loaves inside and sealed the opening with a removable inner door.
This inner door and the pizza peel were last-minute creations by my father, made from recycled materials. In the end, they felt like perfect complements to the handmade oven and dough. The bread turned out well, though the tops looked a bit pale—likely due to the unfinished insulation on the dome.


Bread to Berlin: What’s Next?
The wooden oven project was a success! There were challenges, from weather delays to construction intricacies, but the process brought our family together. Everyone contributed according to their skills, and the idyllic baking afternoon—filled with excitement and satisfaction—made it all worthwhile.
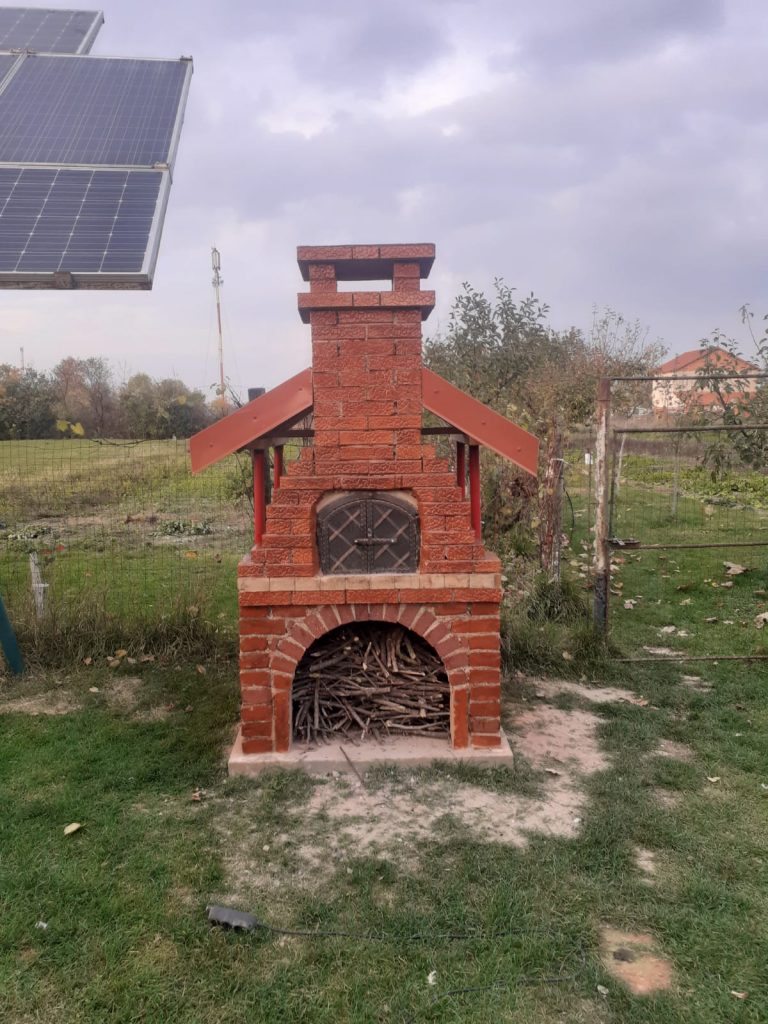
The next day, I returned to Berlin, but not without a piece of freshly baked bread. My father completed the final steps of the oven in the following weeks, adding insulation, a roof, and a top for the furnace. Here’s how the oven looks now:
Share Your Story!
Have you ever baked in a wooden oven or built one yourself? What would you like to see us bake in the oven next? I’d love to hear your experiences and ideas! Feel free to reach out and share your stories.
As for me, I can’t wait to return for another baking session in our beautiful wooden oven!